How to Do Onboarding
May 9, 2022 | By Terry Alortott

Hiring and onboarding can always be a bit of a slow shuffle. There is almost never a consistent plan in place. And most avenues for bringing someone on becomes added work for a senior team member.
What makes this issue a larger problem is that onboarding isn’t unique to one type of industry or company. But the process is, in a lot of ways, similar across the board. While some industries may need extra steps like more in-depth background checks, much of the underlying process stays the same.
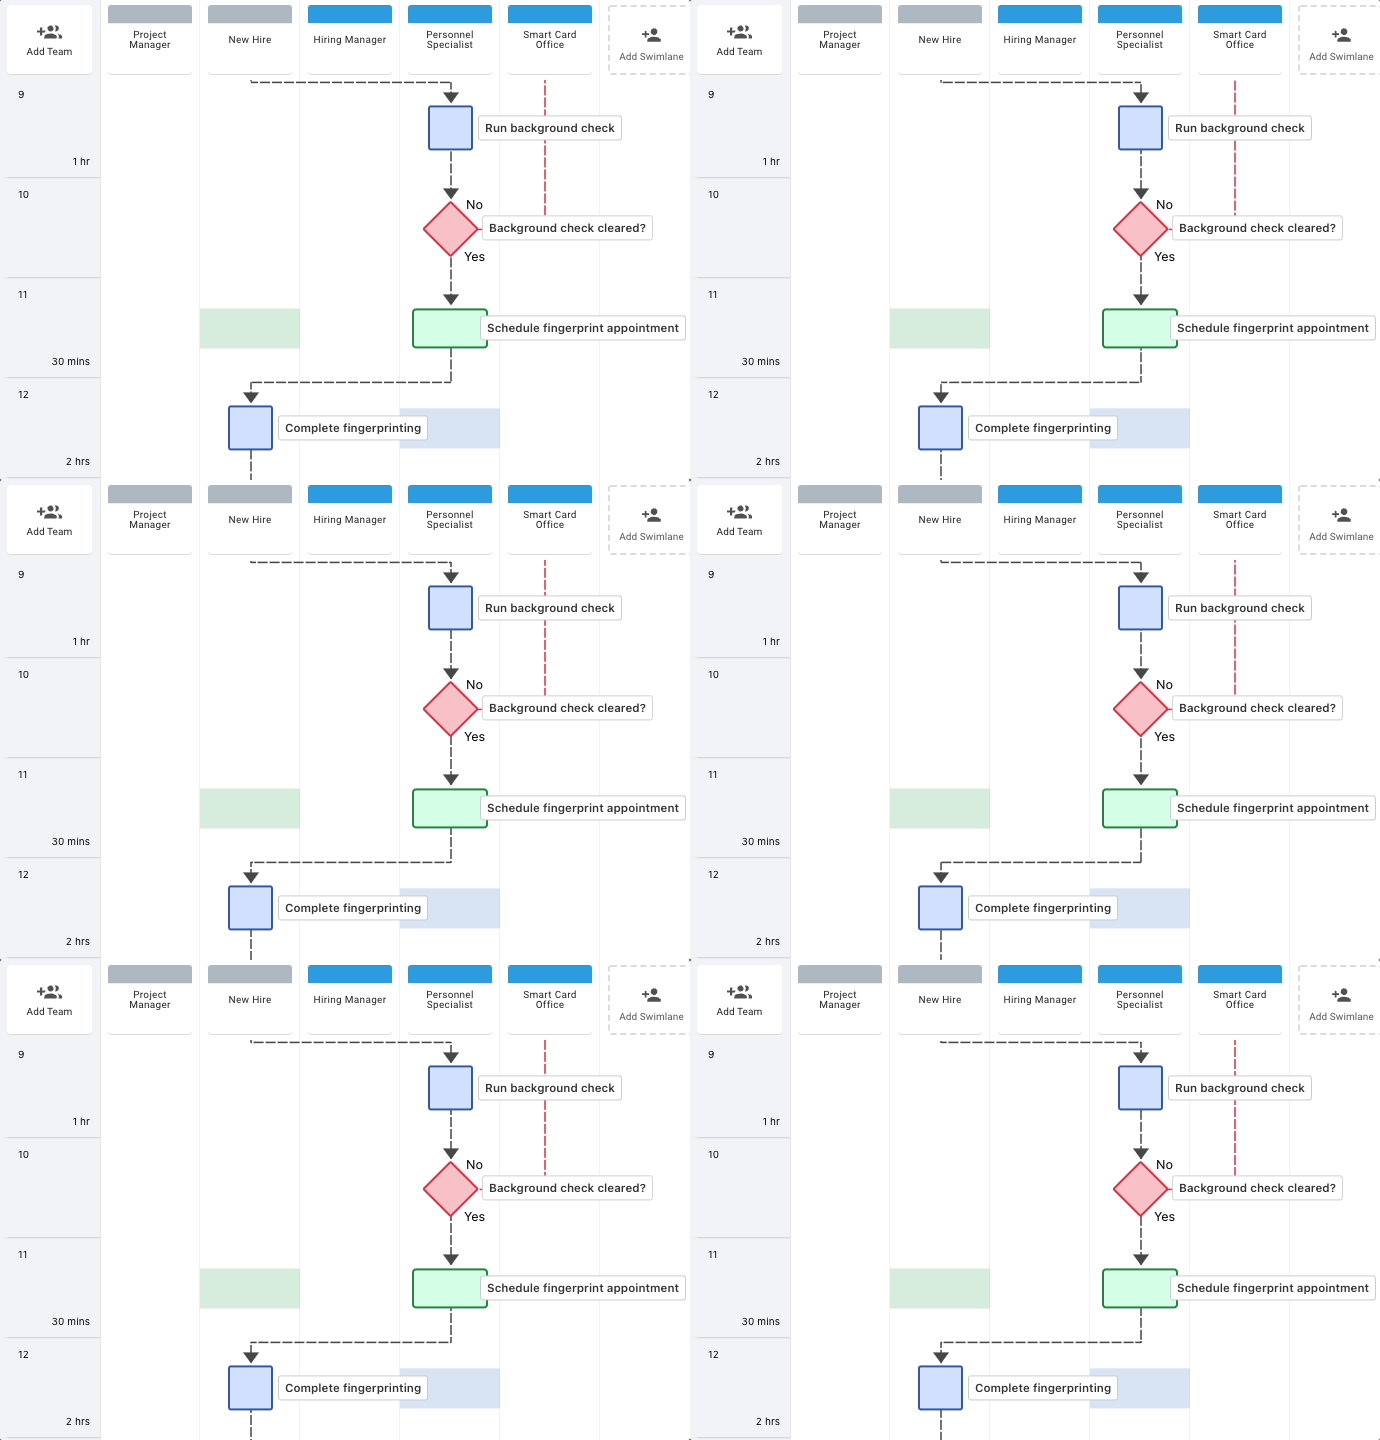
Here, we’re going to take a look at a general process for a new hire. What does their onboarding pipeline look like? We’ve made a process diagram in TeamFlow called “New Hire Onboarding.” In this diagram we can see how it starts with a resume. Then it gets into the nuts-and-bolts of the onboarding process.

The diagram is also an easy way to disseminate the plans of onboarding to everyone. Who and what needs to be present before and after each step. We’ve set up some simple color coordination to help make the visuals easier to see at a glance.
We can be as specific (like onboarding for a biomedical engineer) or as broad (like creating a template for onboarding a big team) as we like. We also have the option to create linked sections using sublayers where we can drill down. This allows for more detailed flows, such as for very complex or specific roles.

For this post, let’s focus on a few interesting aspects of the diagram, like how they can adapt to fit the needs of businesses, non-profits, governments, or even education institutions.
To get this started let’s look over at line 5 to see our first section. Here we can see a task node that’s the responsibility of the Personnel Specialist. In TeamFlow, we can click into the node to get more options.

The “Files” tab allows the Personnel Specialist to store all the documents in one easy-to-find location. We’ve all dealt with onboarding documents getting misplaced, becoming outdated, or lost completely. So having one designated location for all our documents makes it easier for everyone.
Looking back at the left-hand side of the diagram (where we have our line numbers), we can also see that there’s been a time added to this node for 15 minutes. That’s the planned time it takes to send out the forms. This number is customizable based on your needs, but for us 15 minutes sounds like a good number to start.

For the next section, let’s look at line 10. With this node, we have what’s called a “decision” node. This is where we define a condition in the process. Either something will happen or it won’t. In this case, it’s a matter of passing a background check.
What’s unique about the decision node is, while it has both a “yes” and “no” outputs, it also has a third option in case your decision is more complex. Also, within this node we can go to the “Files” tab and add a document for the decision, like a form for a signature.

For the final look at this diagram, let’s focus on the last node on line 15. This is what’s known as a “milestone” node. Milestones happen whenever there’s a need for a break or change within the diagram. Many times, a diagram will have different stages or needs a satisfying end to the process. Milestones can be great for this use case. For more node descriptions please check out our Knowledge Base.
“Milestone nodes are there to show major sections of the diagram that are distinct separate areas of operations. These nodes are unique in the fact that they take up the entire width of the screen. Think of these as set goals.”
So, even though we made the “Onboarding Complete,” we could still add a new section like for “Post Onboarding” or “Onboarding Feedback.” The milestone node also has the same options and tabs as the other nodes in the diagram. So here you are free to be as specific as needed.
(Click to drag the diagram to view all of the steps in the plan.)
Each graph is going to be unique to what you need. But with these blog posts we can help give you an idea of how other people make their workflows and pipelines. With a few simple clicks, TeamFlow was able to produce a detailed onboarding process flow. This also becomes our source-of-truth, so we can add more as our needs change and update our docs in real-time.
If you have any suggestions or feedback on this article, please drop us a line. As always, thank you for reading and we hope you check back soon for more helpful guides on compliance and other industry topics. To get notifications on when we post our next article, please follow us on Twitter and LinkedIn.
 How to Do Onboarding